A Guide To Setting Up Your Philips HeartStart AED in 5 Easy Steps
So, you’ve made the wise decision to purchase a Philips HeartStart AED for your workplace, community club or school to ensure you are First Aid ready in case of a cardiac emergency. But, what’s next?
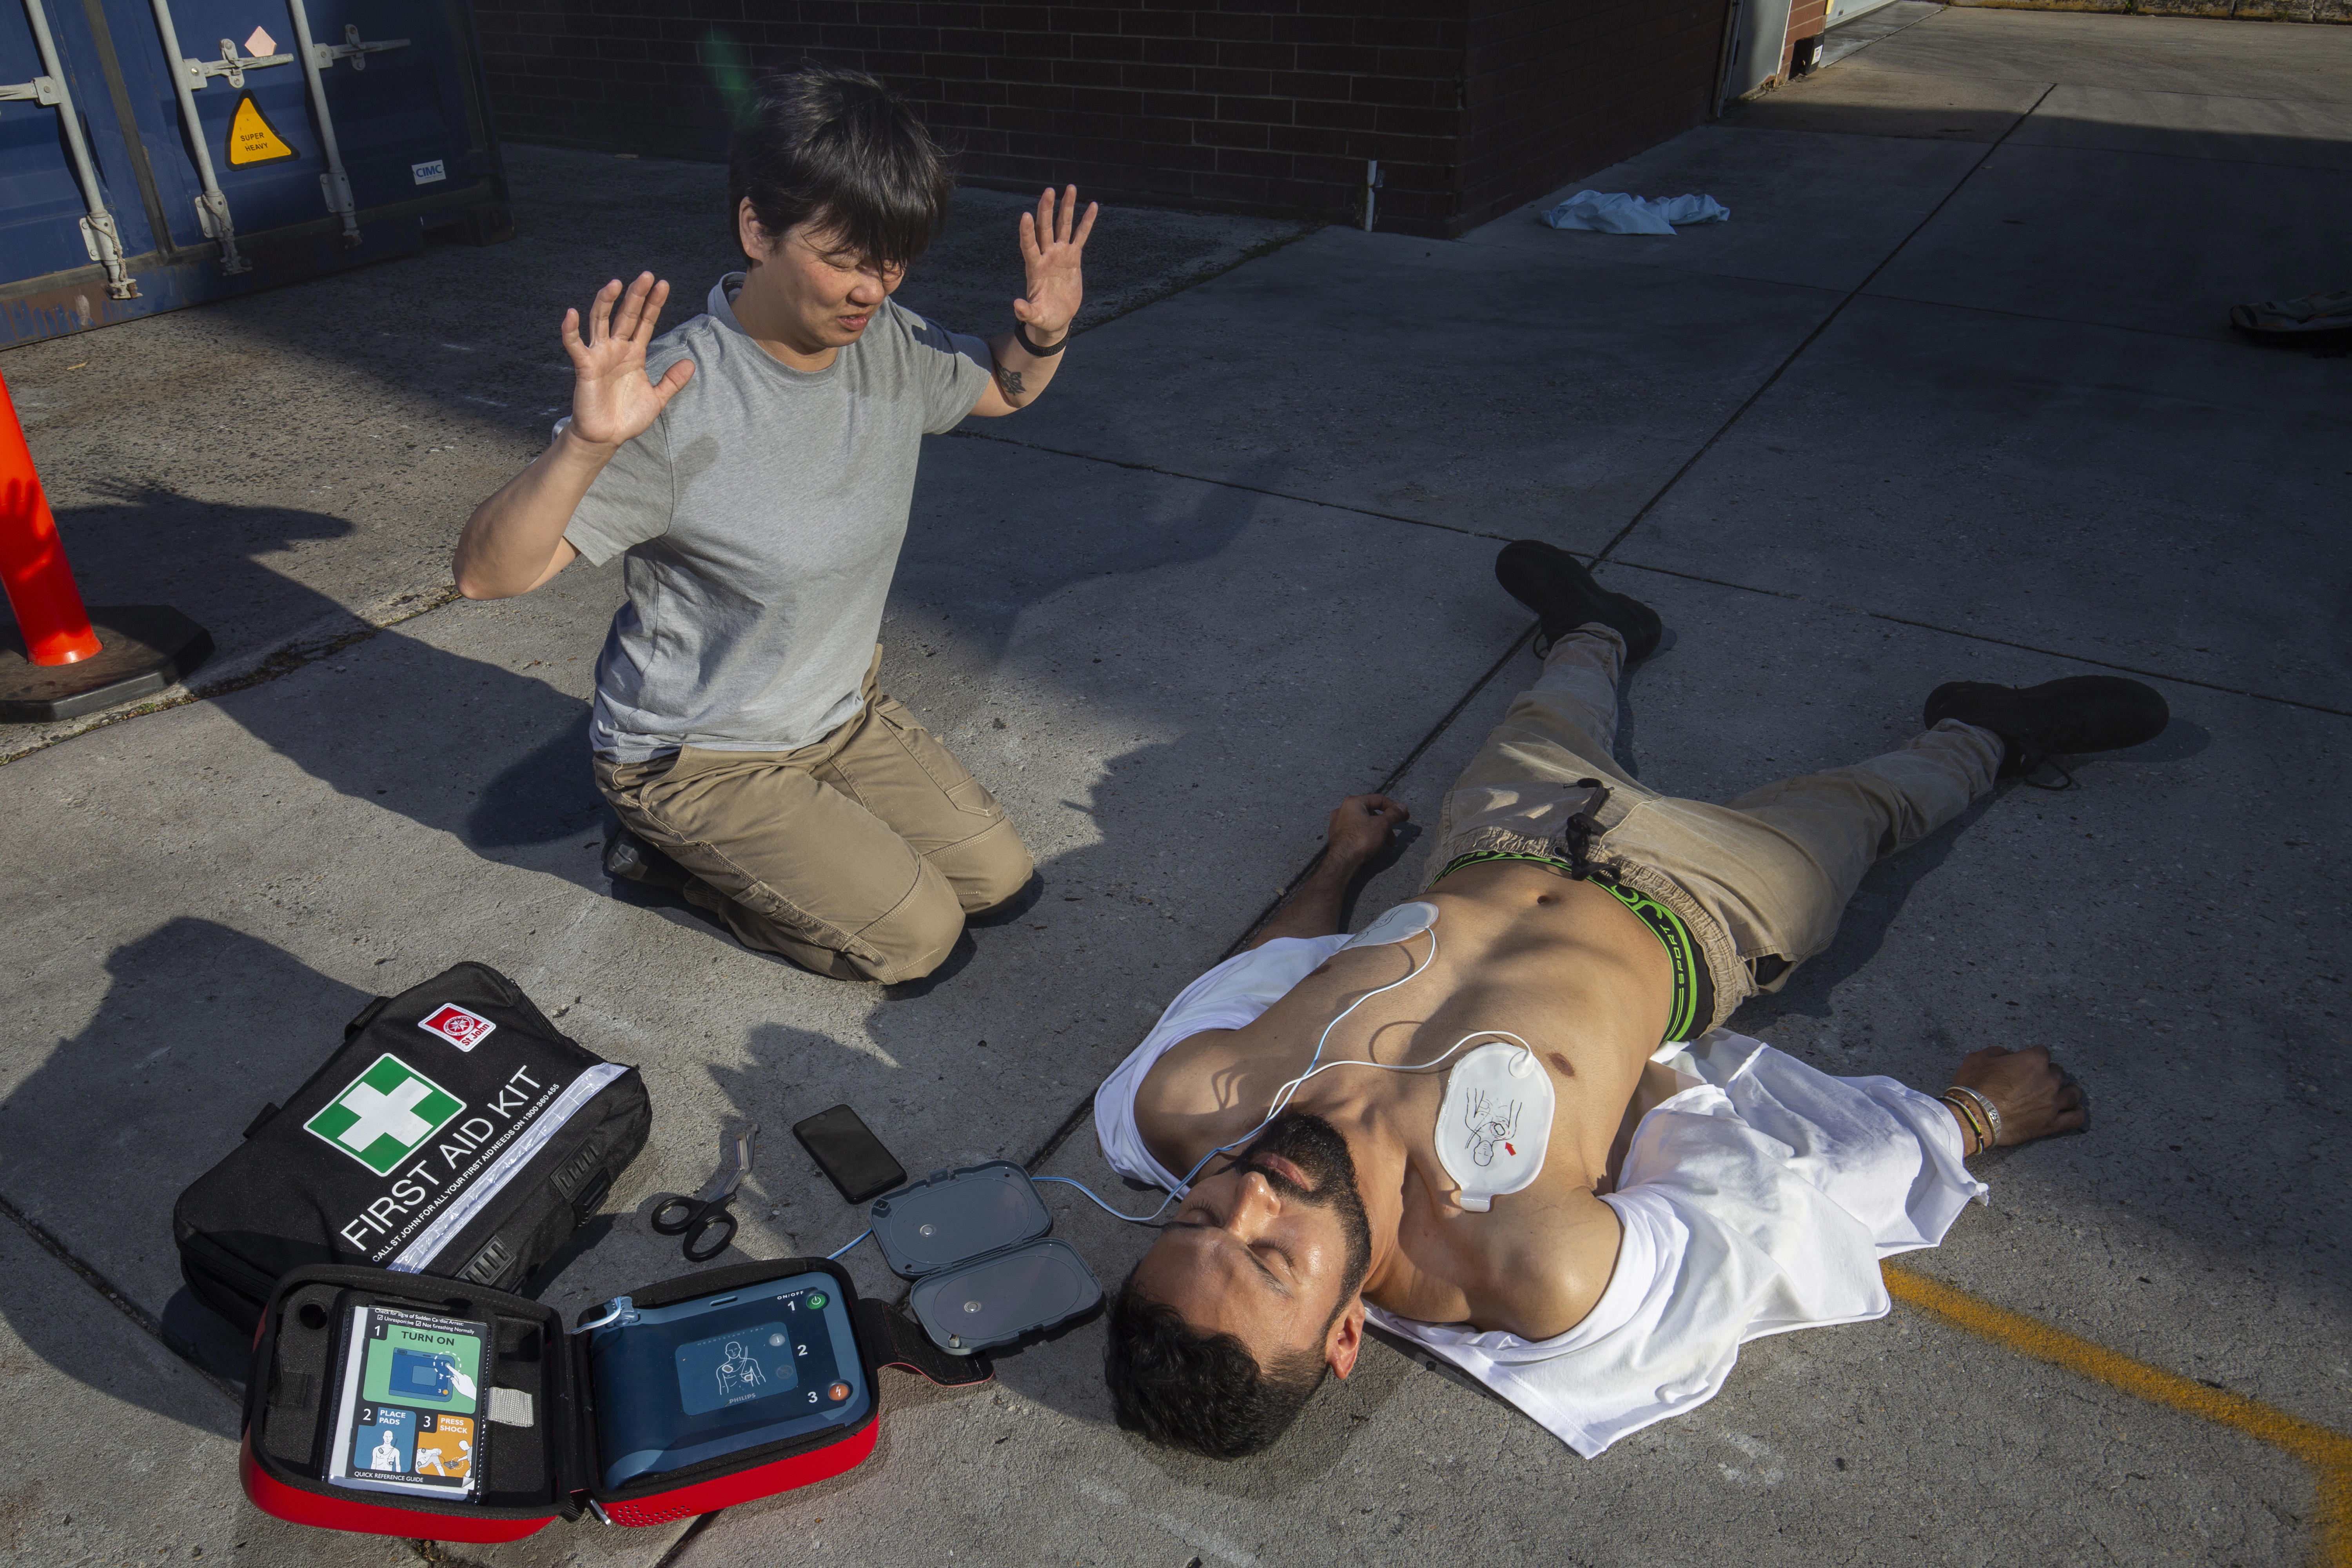
Automated External Defibrillators (AED) are designed to be simple to use for people of all ages, education and background and setting them up so they’re 100% ready for the first use is just as easy with the help of our guidelines.
In the case of a cardiac emergency, every minute counts, so you don’t want to be wasting critical time setting up your AED in the midst of a First Aid crisis. To guarantee you are ready to respond when a cardiac emergency strikes, follow our step-by-step process below to guarantee your AED is ready to save a life.
Set Up Your Defibrillator With These Easy Steps
Congratulations on choosing to purchase a Philips HeartStart HS1 or FRx Defibrillator! This device will help both trained and untrained responders to provide First Aid in a cardiac emergency. But first, you must set up your Defibrillator.
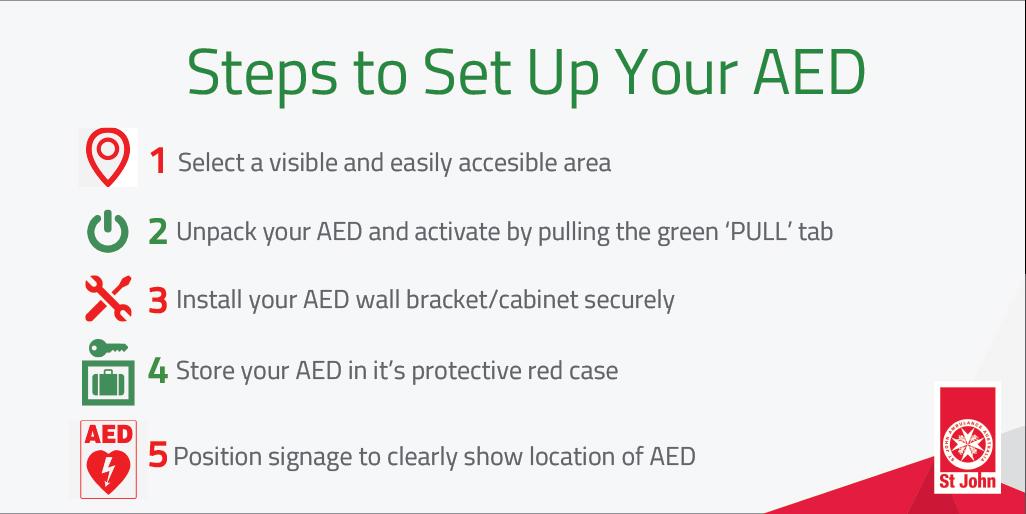
Step 1 – Location
- The location of your AED is critical in an emergency. It needs to be easy to access for people of all heights and abilities.
- It should be positioned in a central location which is obvious to anyone who may need to use the device.
- It must be clearly visible and not hidden away in cupboards, lockers or drawers.
- If you have a HeartStart HS1 AED it must be secure and safe from damage at all times. This includes exposure to water, dust and rough environments.
- The HeartStart FRx AED is designed to withstand heavy-duty environments so water, dust and tough handling can be tolerated.
Step 2 – Activation
Every AED is delivered with an instructions manual outlining the activation and installation process.
To set up your HeartStart FRx AED follow these steps:
1. Unpack all contents and become familiar with each item:
- HeartStart FRx Quick Setup Guide booklet
- Defibrillator case
- Defibrillator
- Pads
- Mini folder for contents
- Emergency Response Plan
- A4 Sticker & A6 sticker
2. Ensure your pads are plugged into the AED in the top left corner
3. Activate your Defibrillator by removing the green tag. This will begin the AED self-test. Listen for the “Beep!”
4. When instructed, press ‘Shock’ button firmly
5. Wait whilst the Defibrillator completes the self-test. Listen for the voice prompt “Ready for use”
6. In the top right hand corner there should be a blinking green light. This indicates the self-test has been successful and your Defibrillator is now activated and ready for use in an emergency
To set up your HeartStart HS1 AED follow these steps:
1. Unpack all contents and become familiar with each item:
- HeartStart HS1 Quick Setup Guide booklet
- Defibrillator case
- Defibrillator
- Emergency Response Plan
- A4 Sticker & A6 sticker
2. Activate your Defibrillator by removing the green tag. This will begin the AED self-test. Listen for the “Beep!”
3. When instructed, press ‘Shock’ button firmly
4. Wait whilst the Defibrillator completes the self-test. Listen for the voice prompt “Ready for use”
5. In the top right-hand corner, there should be a blinking green light. This indicates the self-test has been successful and your Defibrillator is now activated and ready for use in an emergency
Step 3 – Installation
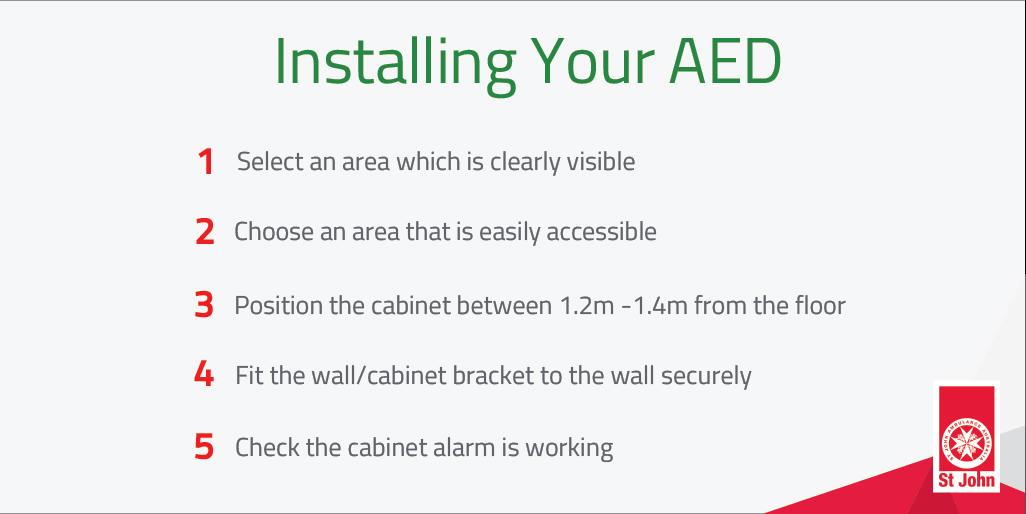
Install your Defibrillator in the chosen location which meets the following requirements:
- Is clearly visible – For best visibility install directional signage throughout the site to your AED
- Is easily accessible – the Defibrillator bracket or cabinet must be installed between 1.2m – 1.4m from the floor
- Is securely fitted to the wall and the cabinet alarm is activated to alert bystanders that a cardiac emergency is taking place and the AED has been accessed
Step 4 – Storage
- Always ensure your AED is stored inside the red protective case
- The Philips HS1 AED must be stored securely, away from dust, water and condensation
- The Philips FRx AED is a sturdier device and can withstand heavier duty environments
- Wall brackets and cabinets are available to store your Defibrillator in a clear, secure location
Step 5 – Signage
- Position the Emergency Response Plan poster next to the Defibrillator cabinet or bracket
- Place the A4 AED poster on a nearby door to show the location of your Defibrillator
- Situate the A6 AED sticker above the wall-mounted Defibrillator
Using your Philips HeartStart AED is easy once the device has been setup correctly and confirmed to be First Aid ready for a cardiac emergency.
It’s very simple to set up your Philips HeartStart AED and prepare for a sudden cardiac arrest. If you don’t follow these guidelines, you may waste precious minutes during an emergency.
Shocktober 2023
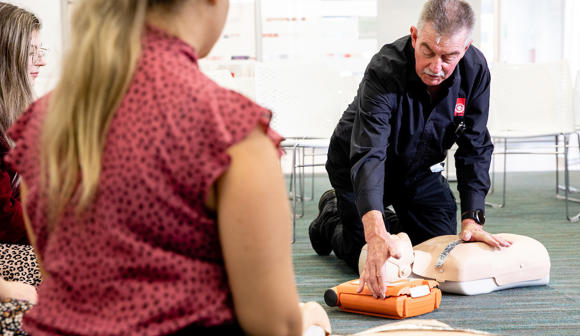
Check out all the events we’re hosting to support Victorians this Shocktober from free CPR training, give aways and more.
How to choose the right Defibrillator for you
Choosing a defibrillator can be hard. Read our list of things you should consider when choosing the right defibrillator for your needs.

Defib in your street
After the successful launch in the Suburb of Reservoir in 2022, Defib in Your Street is currently aiming to make St Albans and the 3021 postcode the safest place in Australia to have a sudden cardiac arrest.
Find out more about the program.